
Додавання другого монітора на ноутбук або настільний комп'ютер є простим завданням у середовищі Microsoft Windows.
Питання з "єднання
Першим кроком у використанні другого монітора є його фізичне підключення до комп'ютера.
- Спочатку подивіться, які порти є у вашого комп'ютера. На ноутбуках вони зазвичай розташовані з боків, але іноді їх можна знайти ззаду. Стільниці завжди мають їх на спині.
- З'ясуйте, які порти дисплея у вас є. Деякі з них можуть бути вам знайомі, наприклад, HDMI. Інші можуть бути абсолютно чужими.
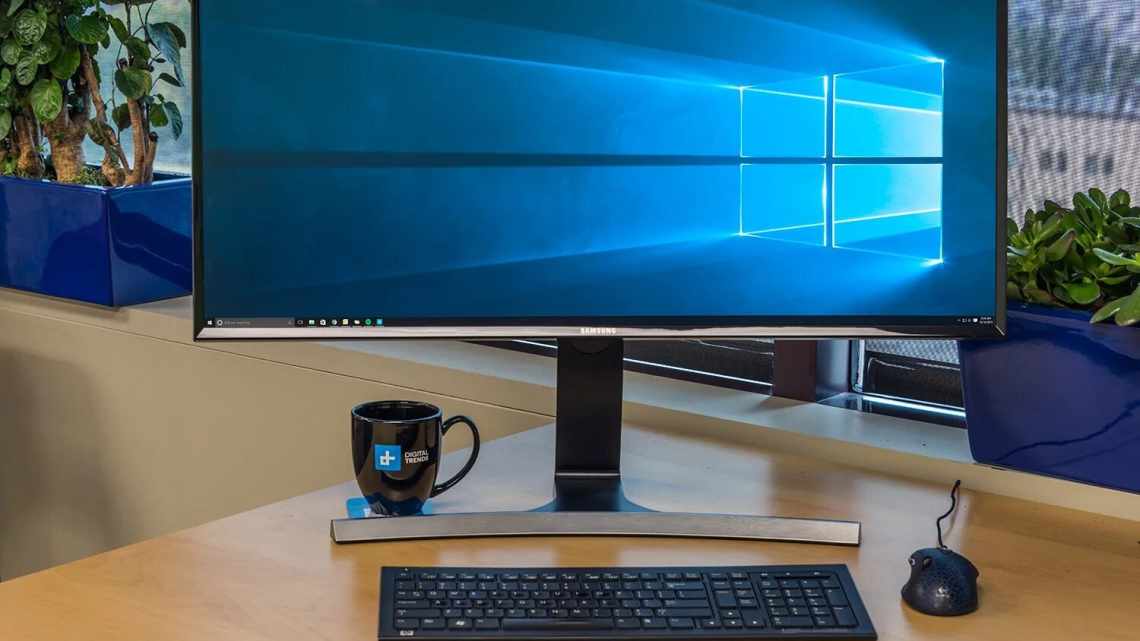
- Далі погляньте на свій монітор. Які порти у нього є? Порти зазвичай знаходяться на задній панелі монітора. Вони також зазвичай знаходяться на нижній стороні моніторів.
- Виберіть правильний кабель для з'єднання монітора і комп'ютера.
VGA и DVI. Старі комп'ютери можуть мати порти DVI або VGA. Ці роз'єми спираються на ряд металевих контактів, які зазвичай знаходяться на кабелі. Порти, таким чином, мають низку отворів для розміщення контактів. VGA - це з'єднання стандартної чіткості з нижчою роздільною здатністю. DVI здатний на основний HD. Якщо у вас більш новий монітор, вам може бути важко з'єднатися, тому що підтримка DVI і VGA була припинена більшістю. Можливо, вам пощастить з переходом з DVI на HDMI.
HDMI: HDMI є найбільш широко підтримуваним типом з'єднання дисплея. Майже всі телевізори використовують HDMI, і більшість комп'ютерних моніторів мають щонайменше один порт HDMI.
HDMI може бути ідеальним варіантом. Це найбільш широко використовувані пристрої, і вам не складе труднощів знайти кабель.
Існує декілька типів портів HDMI. Виробники ноутбуків можуть вибрати менші роз'єми mini і micro HDMI для економії місця і створення меншого пристрою. У цих випадках ви все ще працюєте з HDMI, і ви можете легко знайти кабелі з мікро- або міні-роз'ємом на одному кінці і стандартним з'єднанням HDMI на іншому.
DisplayPort и USB-C: все стає трохи складніше з підключеннями DisplayPort, Mini DisplayPort і USB-C. Ви не знайдете їх як зазвичай, але вибрані графічні карти і ноутбуки більш високого класу можуть мати з'єднання DisplayPort. Порівняно недавно комп'ютерні монітори також підтримують DisplayPort. Як і у випадку з HDMI, з'єднання Mini DisplayPort економлять місце на мобільних пристроях, і ви можете знайти кабелі з Mini DisplayPort на одному кінці і стандартним DisplayPort на іншому.
Ви, ймовірно, знаєте USB-C як з'єднання на сучасних смартфонах Android, але це досить швидке з'єднання для підтримки монітора. Насправді, це основний варіант в останніх MacBook. Якщо ваш комп'ютер підтримує тільки відеовихід USB-C, розгляньте монітор, який підтримує вхід USB-C. В іншому випадку придбайте кабель з роз'ємом USB-C на одному кінці і HDMI або DisplayPort на іншому.
- Підключіть кабель до комп'ютера і монітора, використовуючи відповідну пару портів.
- Увімкніть ваш монітор.
Виявити монітор у Windows
Тепер, коли ваш монітор фізично підключений до комп'ютера, настав час налаштувати операційну систему Windows на розпізнавання і використання монітора.
Each version of Windows has a slightly different process to enable and configure your second monitor. Follow the process for the version of Windows that’s running on your PC. If your computer was made any time in the last few years, it’s probably running Windows 10.
In most cases, Windows will automatically detect and configure your second monitor without any prompting by you.
Windows 10
- Open the Power User Menu (Win+X) or the Start menu, and select Settings.
- The Windows Settings app opens. Select System from the window.
- From the Displaysection, choose Detect(if you see it) to register the second monitor. There’s also a chance that the monitor’s already there.
- Choose Identify below the monitors to see which one is which. Windows displays the monitor’s number on each screen.
The option Make this my main display, This is my main monitor, or Use this device as the primary monitor lets you swap which screen should be considered the main screen. It’s the main screen that will have the Start menu, taskbar, clock, etc. However, in some Windows versions, if you right-click or tap-and-hold on the Windows taskbar at the bottom of the screen, you can go into the Properties menu to choose Show taskbar on all displays to get the Start menu, clock, etc. on both screens.
- You can use the diagram of the monitors to re-arrange them. Select a monitor, and drag it into position relative to the other monitor.
If the two screens are using two different resolutions, one of them will appear larger than the other in the preview window. You can either adjust the resolutions to be the same or drag the monitors up or down on the screen so that they match up on the bottom.
Windows 8 and Windows 7
- Open the Windows start menu, and select Control Panel.
- In Control panel, open the Appearance and Personalization This is only seen if you’re viewing the applets in the default «Category» view (not the «Classic» or icon view).
- Now, choose Display and then Adjust resolution from the left.
- Select Detectto register the second monitor, if it isn’t already there.
- Press Identify to see the number associated with each monitor displayed.
- Select and drag a display in the picture to re-position it in relation to the other one.
Change How Your Computer Handles the Second Monitor
Windows gives you a few options for how it will handle the second monitor connected to your computer. You can extend your desktop across both monitors, mirror them, or choose to use one and not the other.
Windows 10
- From the Display setting screen that you arrived at in the previous instructions, scroll down until you see Multiple Displays.
- Select the drop-down menu directly below Multiple Displays to show your options.
- The menu will expand to show your choices:
- Duplicate these displays: Show the same desktop on both monitors.
- Extend these displays: Stretch the desktop across both monitors, using both and increasing your overall screen size.
- Show only on 1: Only use monitor 1.
- Show only on 2: Only use monitor 2.
Choose one, and select it.